One of the very first bits of advice I was given as I clutched a Kodak Instamatic back in the 70s, was to make sure I had the sun behind me when taking family snaps. Well-meant advice, of course, but as I’ve written before, light shining straight into the face of a subject is a mixed blessing. Yes, you can see them well enough – but you see them as they screw their eyes up against the glare, with any hope of casting interesting shadows lost to the flat, boring, frontal (and often intense) lighting.
Where to position your subject in relation to the light(s) is the material for a whole series of blog posts (if not a book or two) so this post just concentrates on what happens when you go all-out to shoot into a light source.
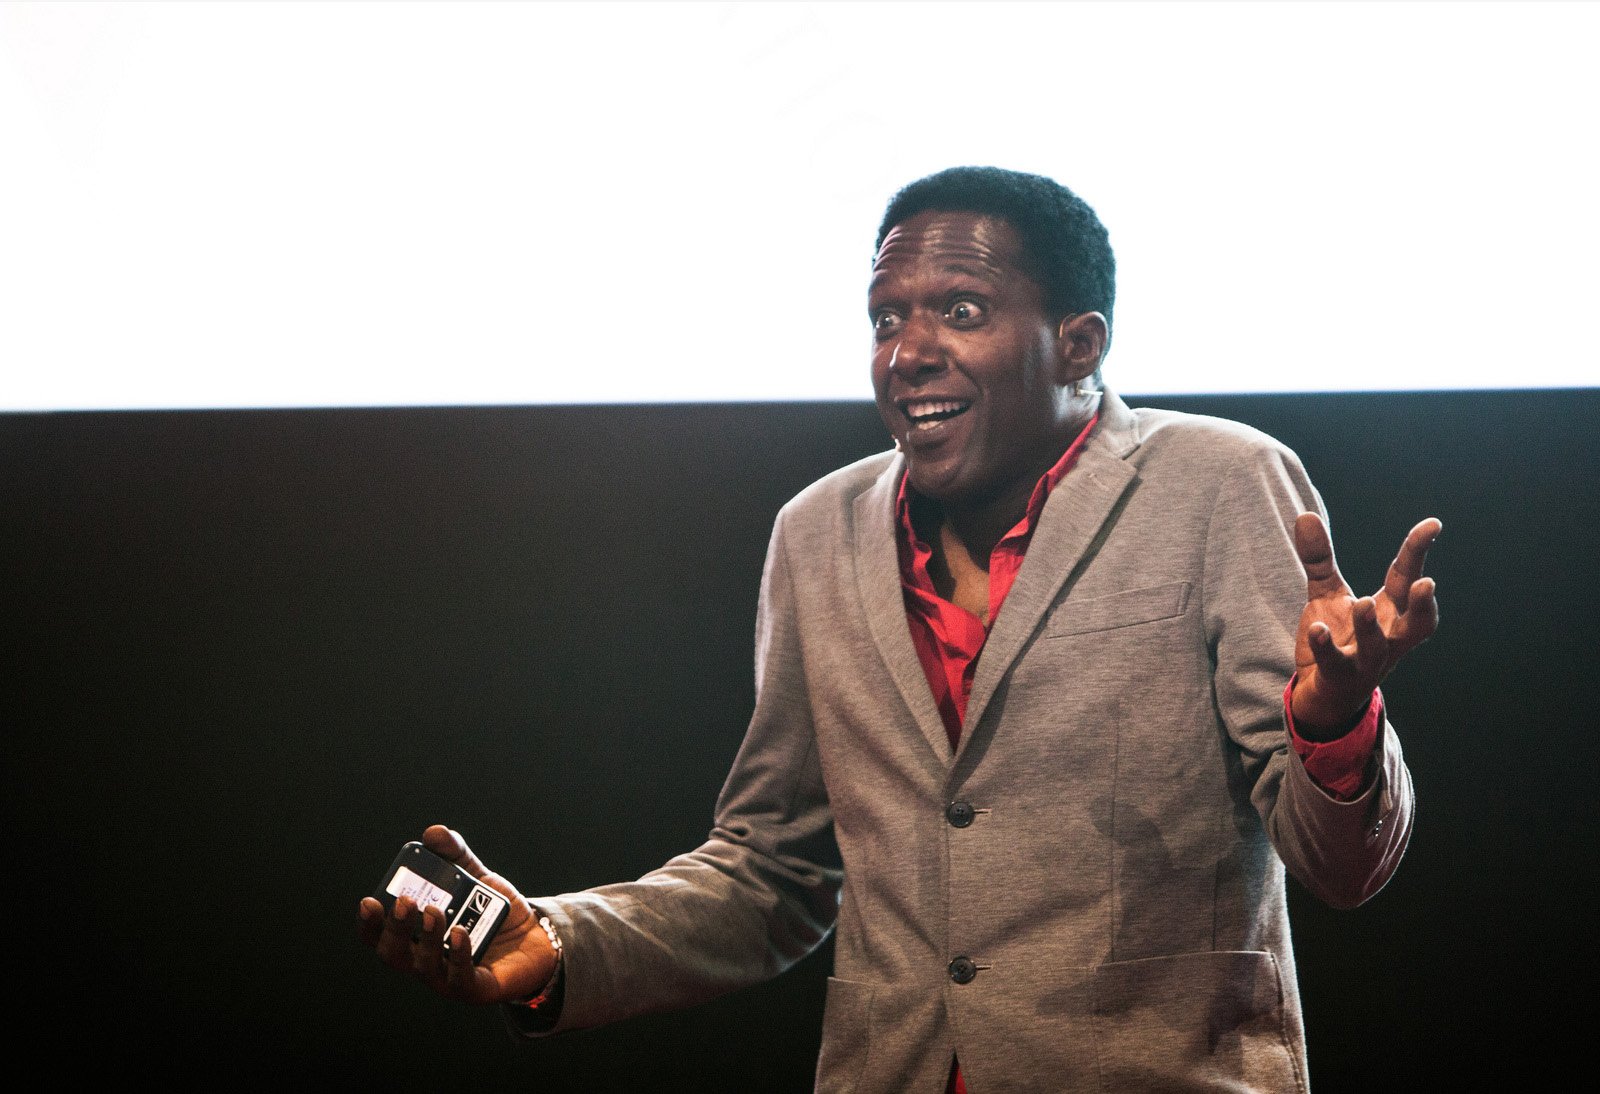
Why? Because, done well, it opens up wonderful creative possibilities. And sometimes you have no choice. I did some informal event coverage for TEDxHousesofParliament a few weeks ago. As I was fixed in my seat, I could see that one of the speakers was going to be quite challenging to capture. He was positioned directly in front of a projection screen – giving a massively bright backdrop. And he wasn’t moving away from it.
Exif*: 160mm; ISO 1000; f/2.8; 1/60
To take a shot like this there are two general approaches (depending on how much time you have available) if you want to avoid having to throw your own flash lighting at the subject. I tend to use flash only as a last resort: it can strip away much of the character and feeling from an event, as well as being disruptive to the audience – especially if you’re sitting in the middle of it.
Your challenge is to overcome the classic problem of the camera’s in-built metering analysing the scene and reaching the “wrong” conclusion. (I’m going to assume your camera is set up, as mine generally is for event work, to take a general average reading of the scene to set the right exposure). Seeing that bright light, the camera assumes you want to pick up any detail that might be within it, so it forces the shutter to open and close very quickly. This stems that flood of bright light but also causes your subject to be no more than a dark silhouette in front of it. It’s the number one problem with images taken against relatively brighter backgrounds.
Fix number one, if you’re in a hurry, is simply to force your shutter to stay open a bit longer. If you’re in manual mode, simply dial in a longer exposure time. If you’re in aperture-priority mode, use (positive) exposure compensation to achieve the same goal.
If you want to be a bit more scientific, a second method is to take an exposure reading from a frame that doesn’t have the brightness in it – say an area to the left or right of the stage – as long as it has the same frontal lighting as your subject. That’s what you want to expose for. Then just pin down the right manual settings in the camera and all works a treat when you swing back in to take the shot.
There is a third approach that I know works for some people – changing the camera metering to “spot” setting, meaning that it only uses a very tiny central part of the frame to judge the exposure. I’ve had mixed results with this with moving subjects – the central zone has to be fairly precisely located – and I just find it easier to assess the relative brightness and manually compensate. (It’s one less setting to change back too when you get back to less challenging subjects.)
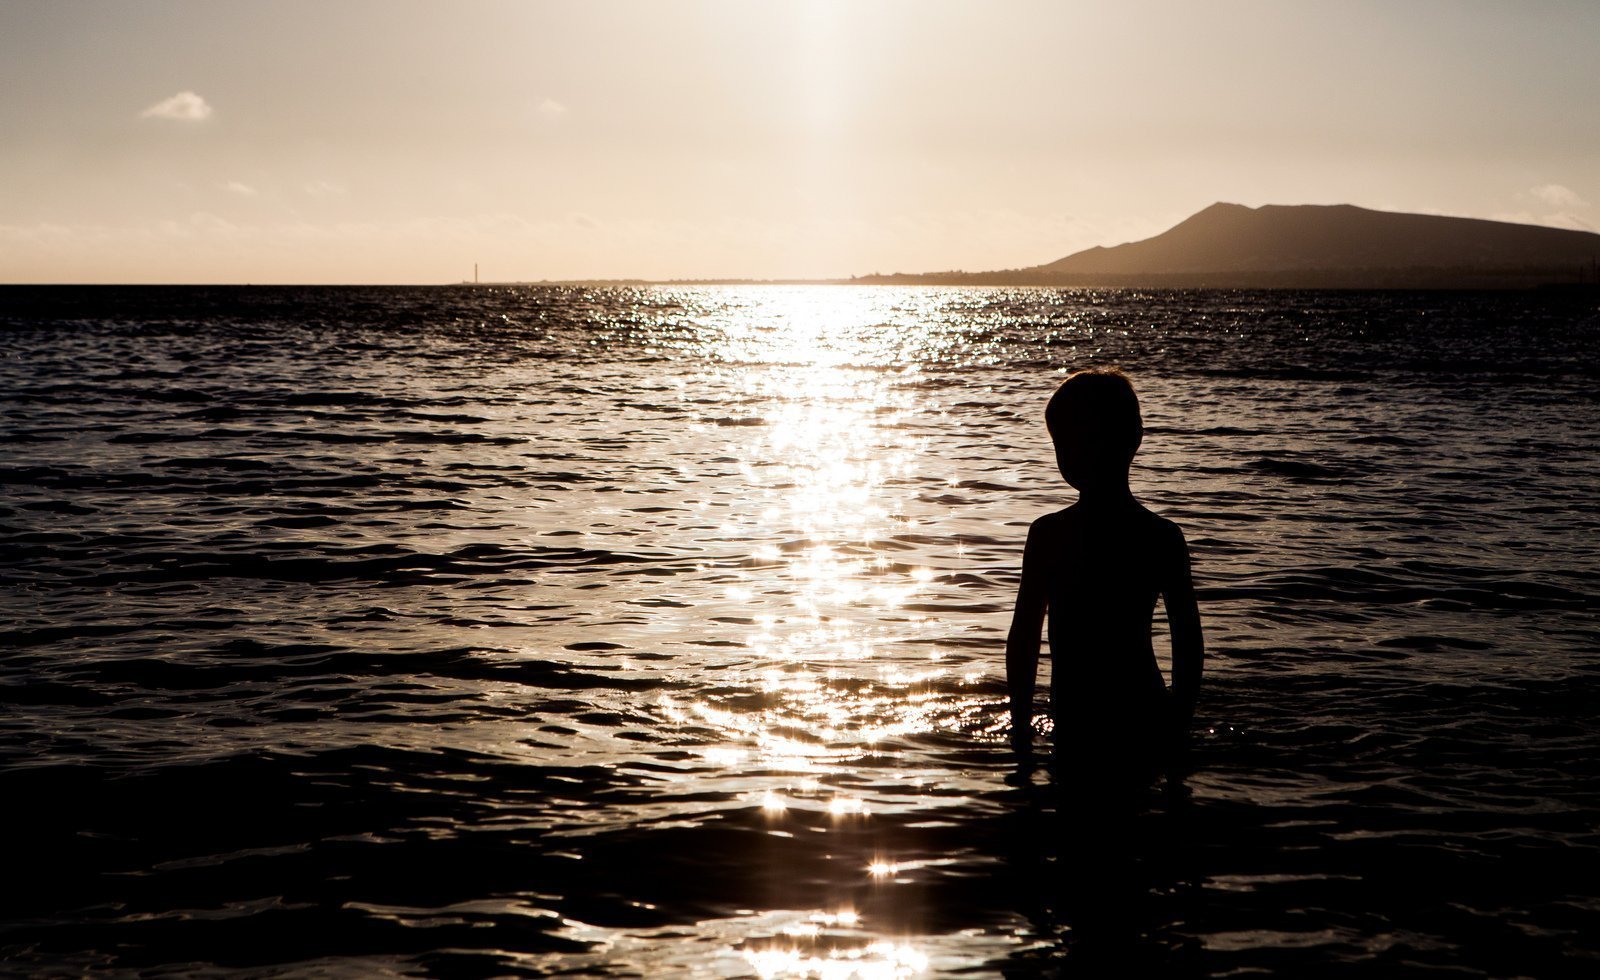
Then there’s the shot where you actually want the subject to be silhouetted. Shoot across the sea into a sunset, tighten up the aperture so that the sun itself isn’t just a blank white space, and anyone standing in the foreground will only be represented by their outlined shape.
Exif: 70mm; ISO 400; f/8.0; 1/8000
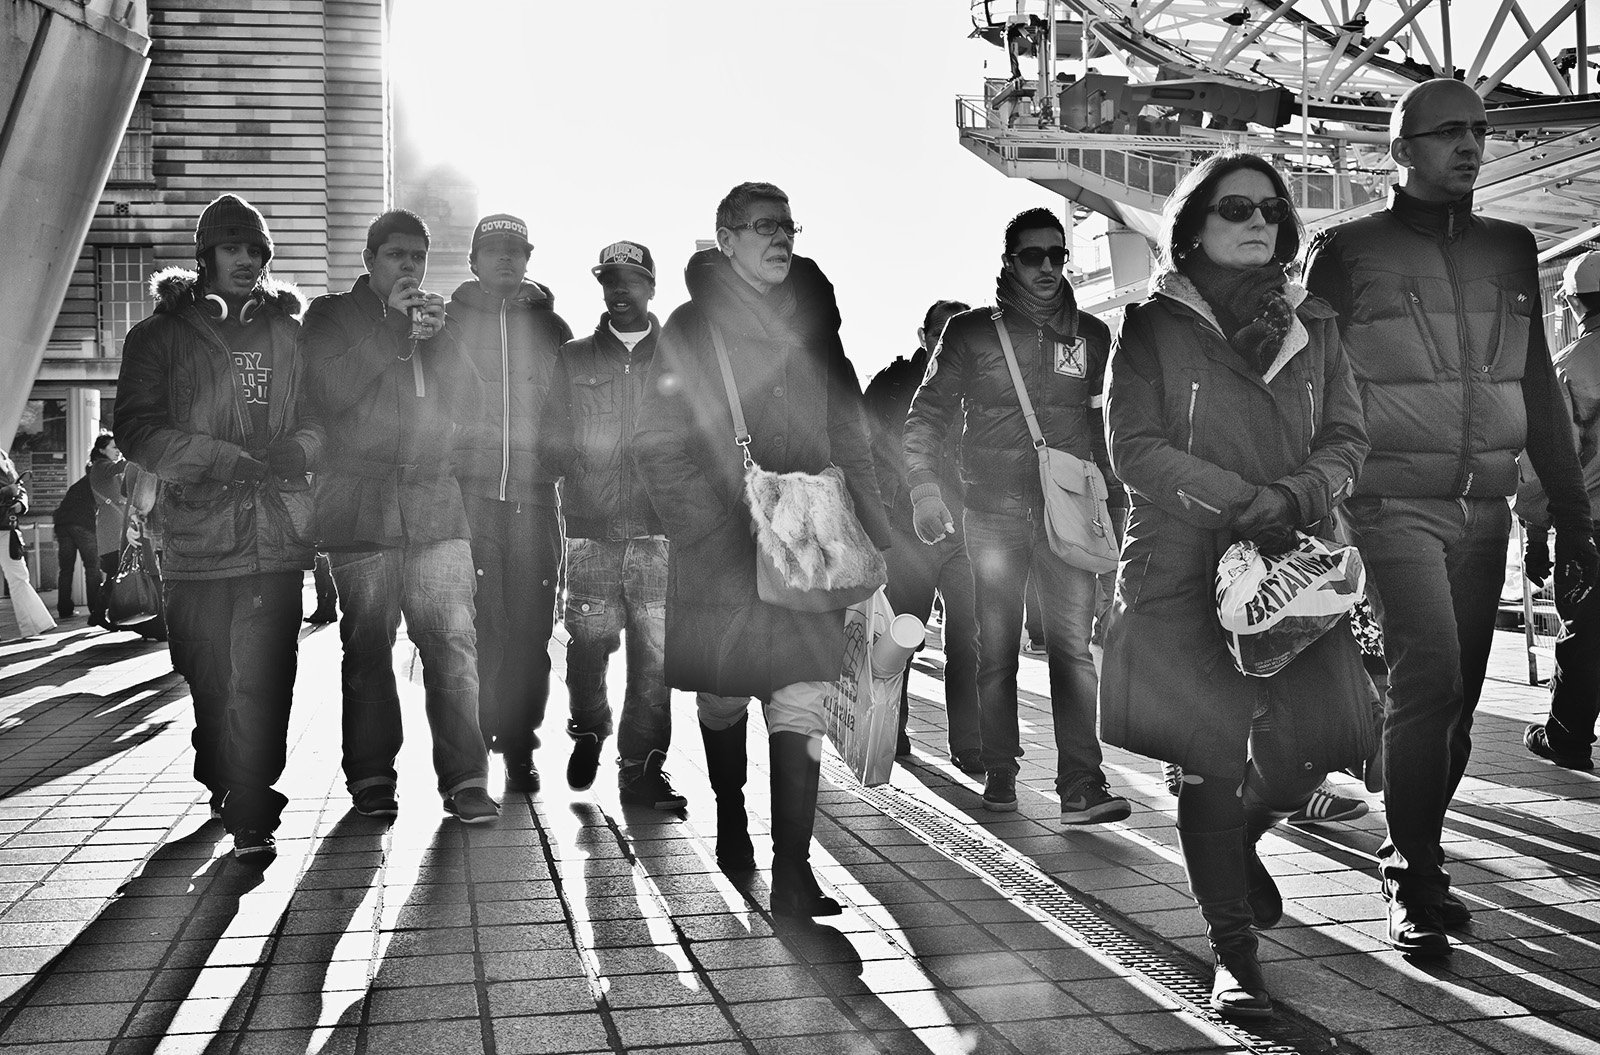
Another result of backlighting is that shadows, so often hidden behind subjects, or tucked away to the side, take on a new prominence. To sinister effect, sometimes…
Exif: 32mm; ISO 400; f/7.1; 1/400
And what if your subjects have lighting behind them that’s interesting all by itself? Then it’s a crime not too shoot towards it, and it can create a wonderful effect of additional depth to the image.
Exif: 50mm; ISO 1600; f/1.4; 1/80
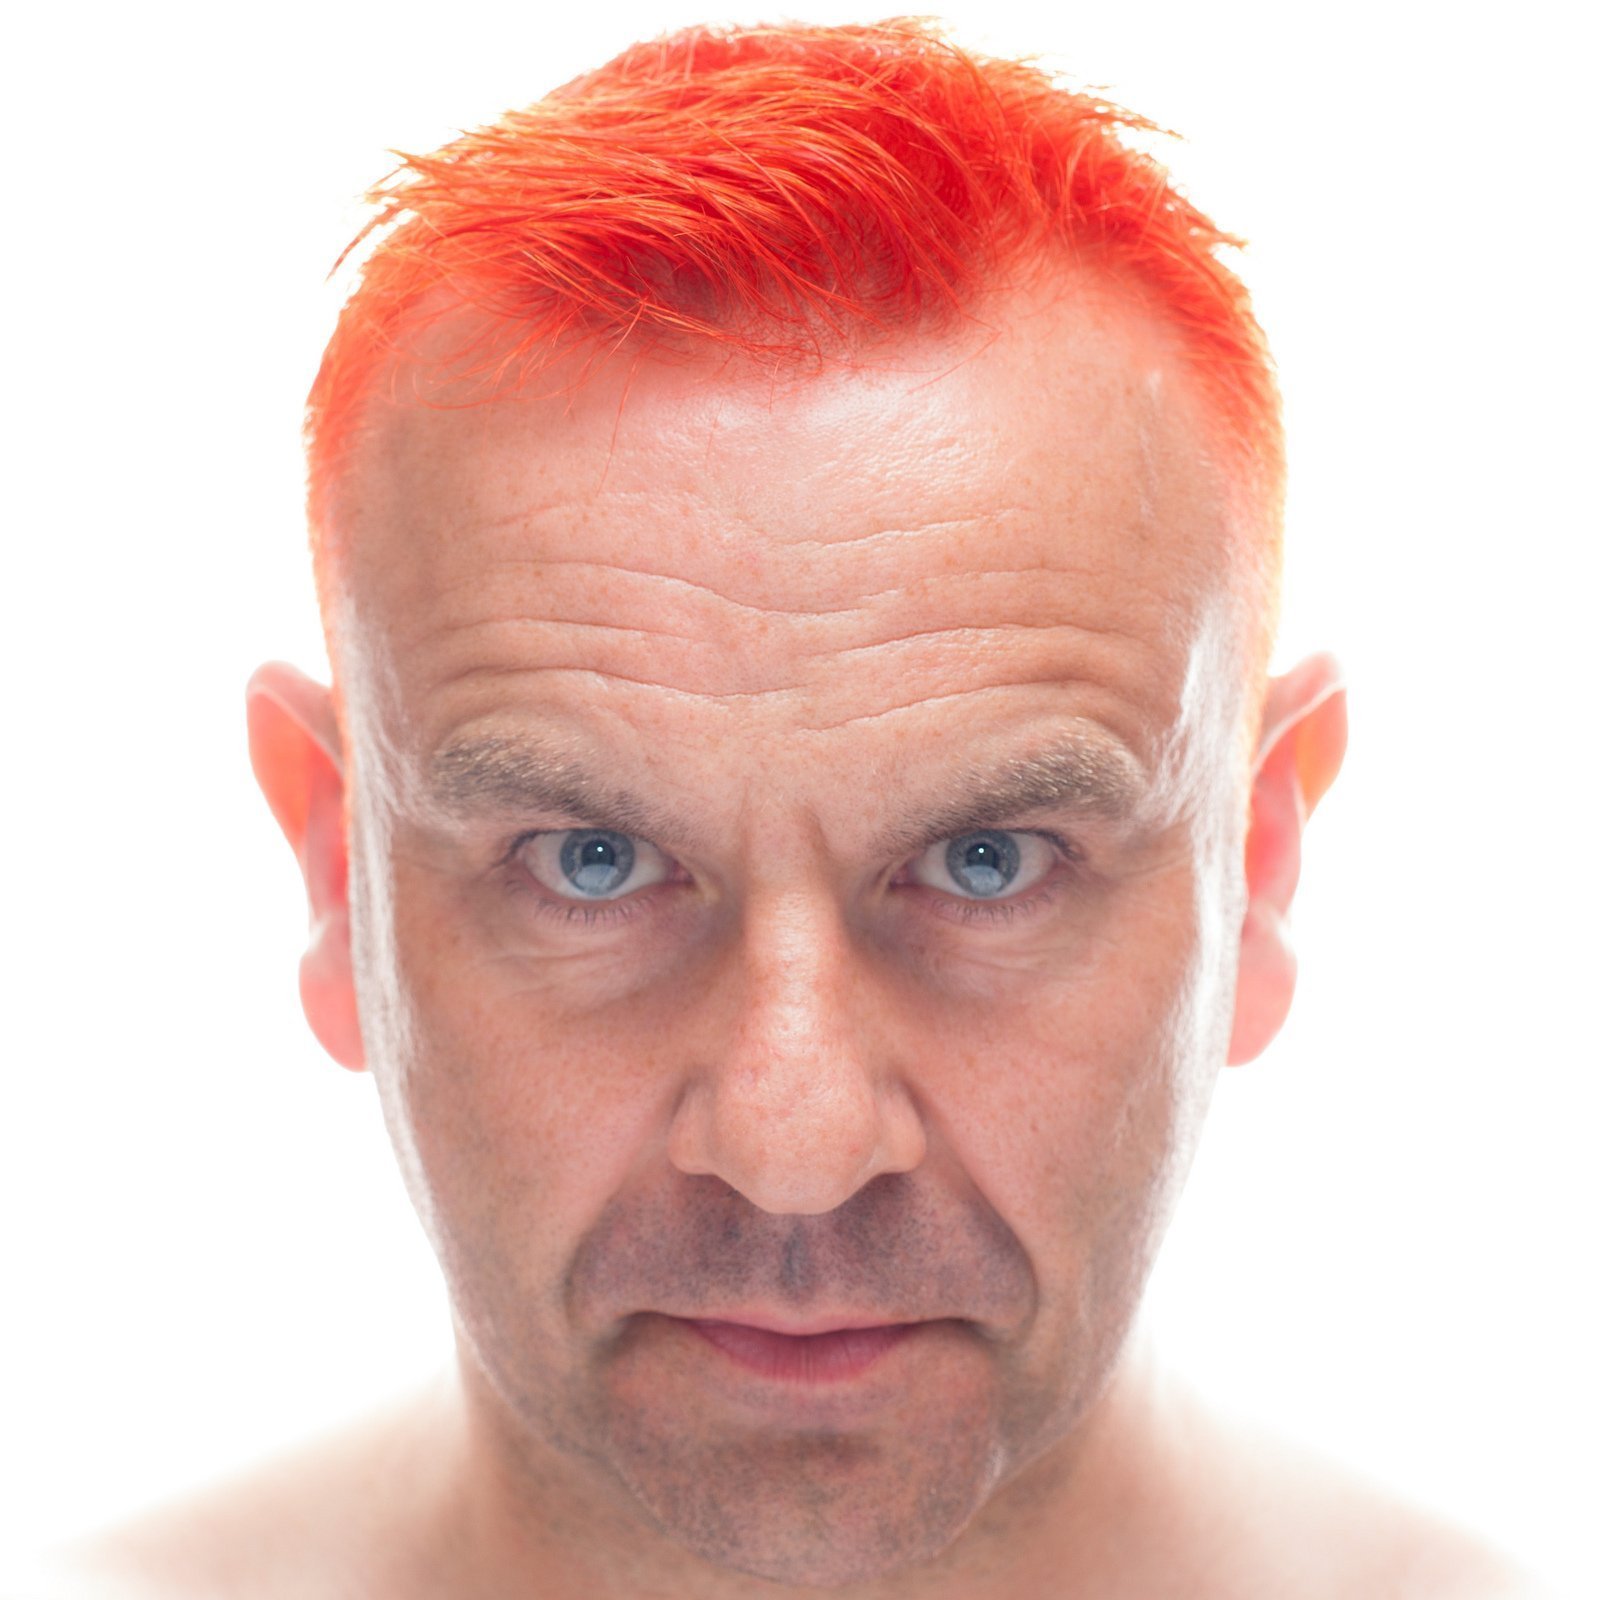
Finally, an example of a shot straight into a strobe light to act as a backdrop. I wanted to create a striking self-portrait. Instead of using my studio lighting to illuminate a white backdrop, I used a softbox itself as the backdrop. Obviously, with such intense lighting, I needed another light above the camera to throw illumination forwards on to my face. This gave pretty deep eye socket shadows though, which I countered by holding a large reflector on my knee. Remote trigger in my hand, and bam: I was the ginger meat in a strobe-light sandwich.
Exif: 50mm; ISO 50; f/6.3; 1/125
*What the Exif notes mean: this is detailed data about how the photo was taken–first, the focal length of the lens, then ISO (the sensitivity of the sensor: low number for bright conditions, high for dark or indoors), then f number (the size of the hole that lets the light into the camera: low = big, high = small), finally the exposure time (how long the shutter is open) in seconds.
